Electric gates add convenience, security, and a touch of elegance to any property. Whether you’re considering installing a new electric gate or upgrading your current one, understanding the installation process is crucial. This comprehensive guide will walk you through the essential steps of electric gate installation, ensuring a smooth and successful project.
Understanding Your Electric Gate Options
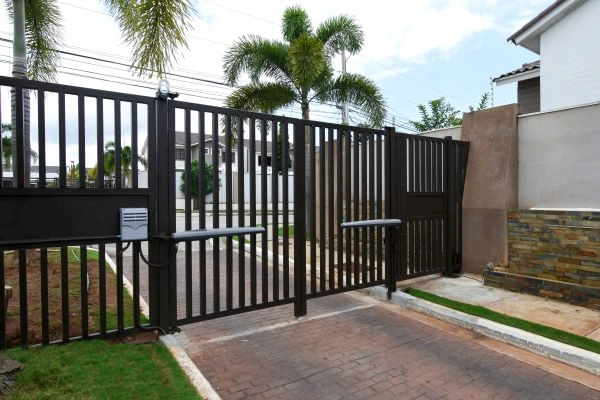
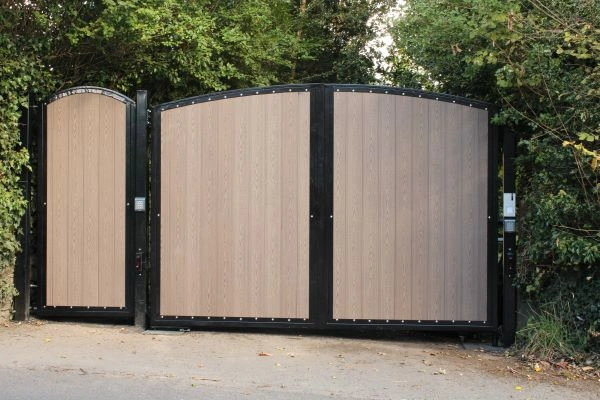
Before diving into the installation process, it’s essential to choose the right electric gate for your property. Electric gates come in various styles and materials, from classic iron gates to modern aluminum designs. Consider factors such as security needs, aesthetic preferences, and budget constraints when selecting your gate.
Planning Your Installation
Assessing Site Suitability
The first step in electric gate installation is assessing your property’s layout and terrain. Determine the best location for your gate, considering factors such as driveway width, clearance space, and slope. Conducting a thorough site assessment will help avoid complications during installation.
Obtaining Permits and Permissions
Depending on your location, installing an electric gate may require permits or permissions from local authorities. Check with your city or homeowner’s association to ensure compliance with regulations and obtain necessary approvals before proceeding with installation.
Installing Your Electric Gate
Preparing the Installation Site
Prepare the installation site by clearing debris, leveling the ground, and ensuring adequate space for equipment and materials. Proper site preparation is crucial for a seamless installation process and long-term gate functionality.
Installing Gate Framework and Automation System
Begin installation by assembling the gate framework and automation system components. Follow manufacturer instructions carefully to ensure correct assembly and alignment. This step typically involves securing posts, attaching gate panels, and integrating automation mechanisms.
Electrical Wiring and Connection
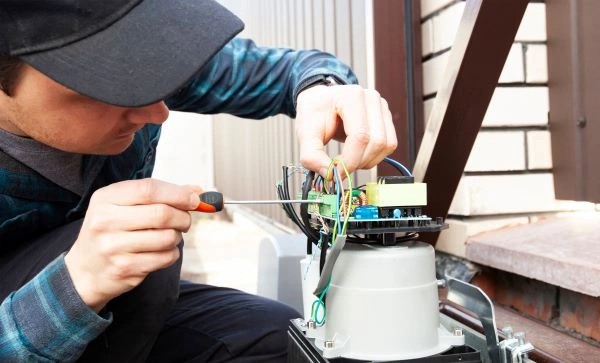
Connect the gate’s automation system to a power source. Depending on the gate’s features, this may involve running electrical wiring underground or integrating with a solar power system for eco-friendly operation. Ensure all electrical connections meet safety standards and codes.
Testing and Calibration
Once the installation is complete, thoroughly test the gate’s operation and functionality. Test automation controls, safety features, and remote access systems to ensure everything works smoothly. Make necessary adjustments and calibrations to optimize performance and responsiveness.
Maintenance and Care Tips
Regular Inspection and Lubrication
Maintain your electric gate’s performance with regular inspections and lubrication of moving parts. Check for wear and tear, loose connections, and signs of corrosion. Addressing minor issues promptly can prevent costly repairs and prolong the gate’s lifespan.
Professional Servicing
Schedule periodic servicing by a professional gate repair company to maintain optimal functionality. Professional technicians can perform thorough inspections, tune-ups, and repairs to keep your electric gate operating efficiently and securely.
Conclusion
Navigating electric gate installation requires careful planning, precise execution, and ongoing maintenance. By following this step-by-step guide and consulting with experienced professionals, you can ensure a successful installation that enhances your property’s security and curb appeal.
For residents in Dallas seeking expert gate repair and installation services, visit our homepage to learn more about our comprehensive solutions tailored to your needs.


